
Projector Screens: Choosing the Perfect Surface for Your Visuals

Introduction
When it comes to projecting stunning visuals, the choice of a projector screen is just as important as the projector itself. The right screen can significantly enhance your viewing experience, whether you’re setting up a home theater, conducting business presentations, or enjoying outdoor movie nights. In this guide, we’ll explore the world of projector screens and help you choose the perfect surface for your visual needs.
1. Consider the Screen Type
Projector screens come in various types, each designed for specific applications. Here are the most common ones:
- Fixed Frame Screens: These screens are permanently mounted to a frame and offer a sleek, professional look. They are ideal for dedicated home theaters and conference rooms.
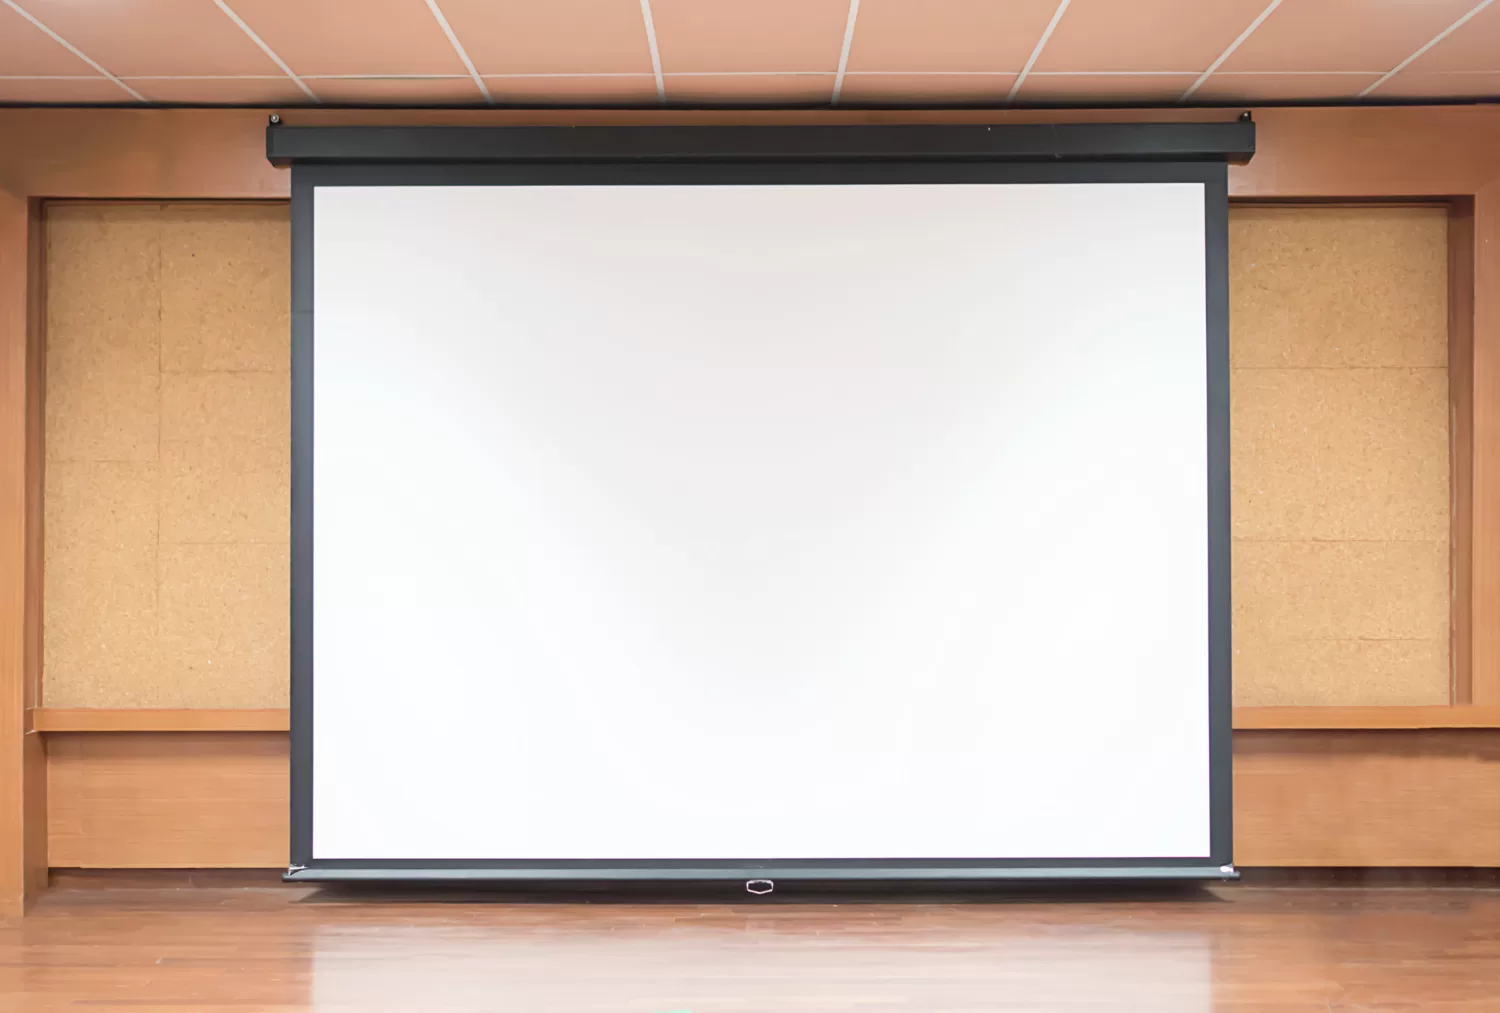
- Motorized Screens: Motorized screens retract into a casing when not in use and can be controlled remotely. They are convenient for spaces where a visible screen would be impractical when not in use.
- Portable Screens: Portable screens are lightweight and easy to set up and transport. They are great for mobile presentations, outdoor events, and temporary setups.
- Manual Pull-Down Screens: These screens are manually operated by pulling them down from a housing. They are cost-effective and suitable for various settings.
2. Screen Material Matters
The material of the screen surface significantly impacts image quality. Here are some common screen materials and their characteristics:
- White Matte: Offers a neutral color balance and wide viewing angles, making it suitable for most applications.
- Grey Screens: Grey screens enhance contrast and black levels, making them ideal for home theaters and rooms with controlled lighting.
- High-Contrast Screens: These screens are designed for environments with ambient light, as they reject external light sources and improve image quality.
- Acoustic Transparent Screens: If you plan to place speakers behind the screen, choose an acoustic transparent material that allows sound to pass through while maintaining image quality.
3. Aspect Ratio and Screen Size
Consider the aspect ratio (e.g., 16:9, 16:10, or 2.35:1) and the screen size that matches your projector’s native resolution and your viewing space. The aspect ratio should match the content you intend to display, whether it’s widescreen movies or standard presentations.
4. Gain and Viewing Angles
Screen gain measures the amount of light reflected by the screen. High gain screens enhance brightness but may have narrower viewing angles. For large audiences or wide seating arrangements, choose a screen with a wider viewing angle, even if it has lower gain.
5. Installation and Mounting
Consider how and where you plan to install the screen. Fixed frame screens require a dedicated space, while motorized screens need a ceiling or wall mount. Portable screens offer flexibility but may require additional support.
6. Budget and Quality
Set a budget based on your requirements, but remember that investing in a high-quality screen can significantly improve your viewing experience. Quality screens offer better color reproduction, less distortion, and longevity.
7. Screen Maintenance
Regularly clean the screen surface to remove dust and smudges. Use a soft, lint-free cloth or a projector screen-specific cleaning kit. Avoid using abrasive materials that could damage the screen material.
Conclusion
Choosing the perfect projector screen involves assessing your specific needs, budget, and space. By considering the screen type, material, aspect ratio, and installation requirements, you can find the ideal surface to complement your projector and enjoy stunning visuals for years to come. Whether it’s movie night at home, a critical business presentation, or an outdoor event, the right projector screen can make all the difference in your visual experience.


